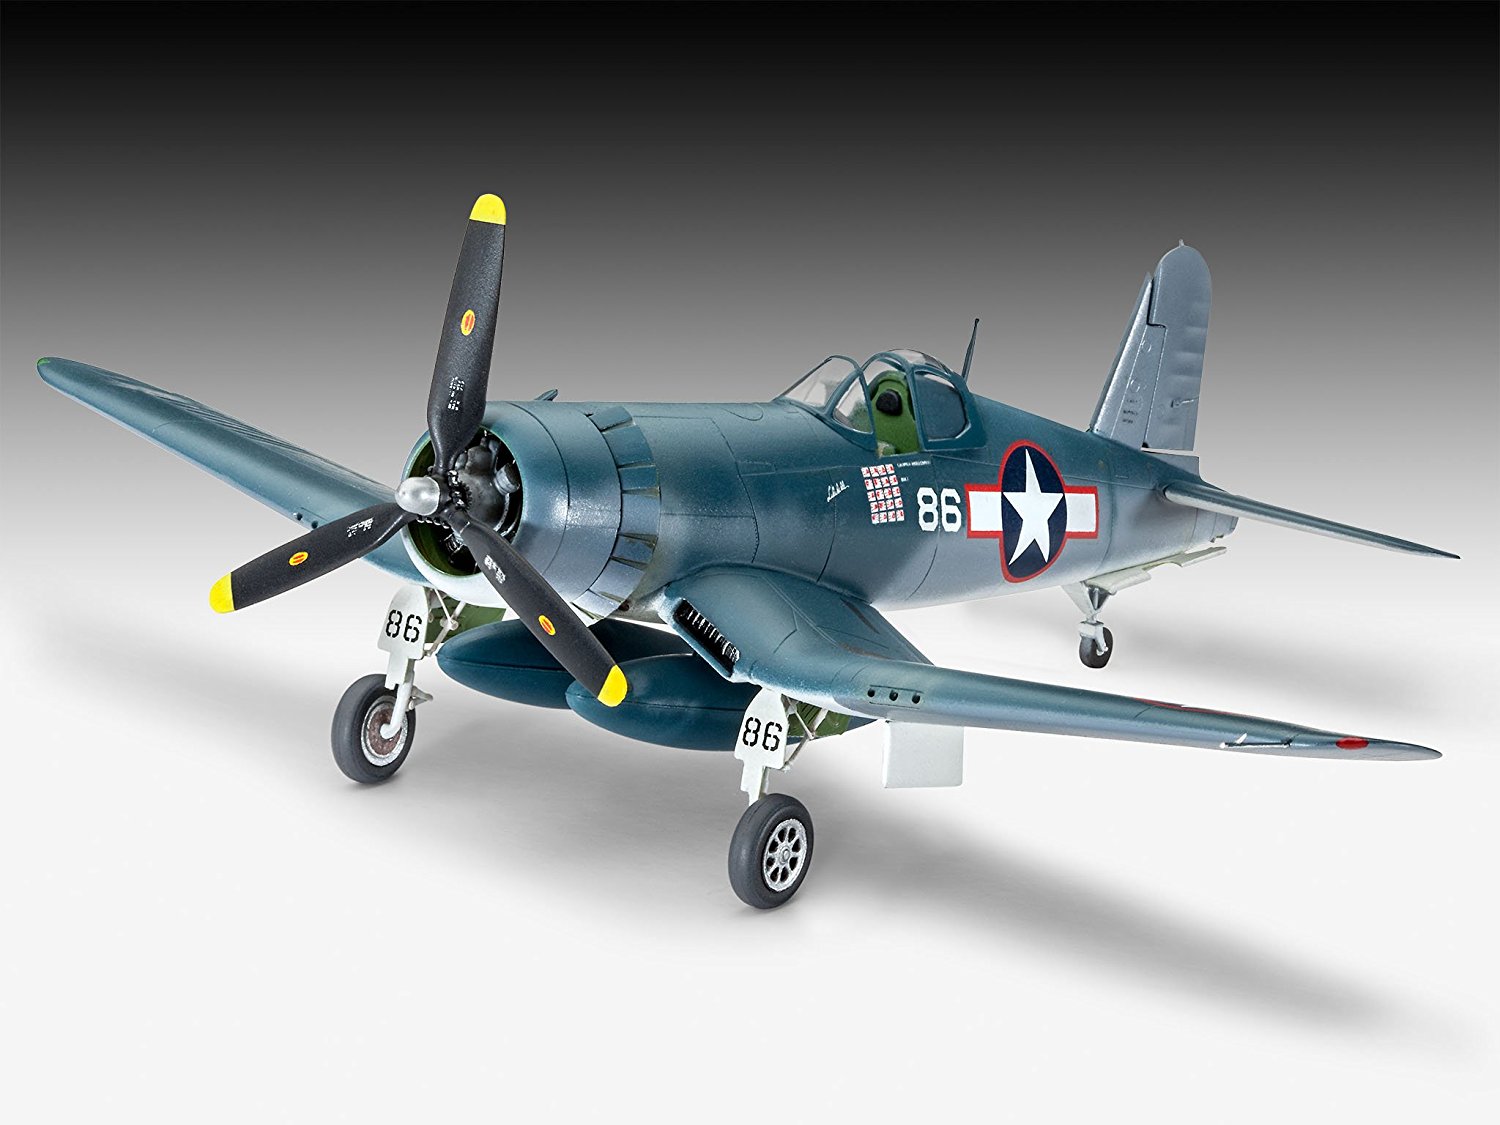
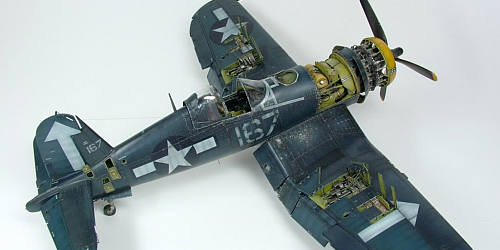
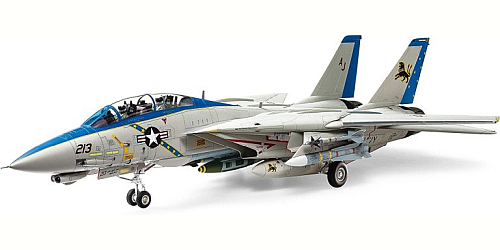
Plastic model aircraft building is a great hobby enjoyed by thousands of people worldwide.
Some builders enjoy working with their hands and creating something nice to display. Others find this hobby a great way to remember and share the glory of wars past and the machines used to fight those wars.
Still others find building model aircraft a great way to learn more about the details of the actual aircraft that are being modelled.
Model building of all kinds is a mix of art and science. Model plane kits retailers of give a lot of attention to detail and exact scaling. Builders of models can often also tell you a lot about the science of the actual aircraft modelled.
[iframe src=”//www.youtube.com/embed/j-Mdr1mgVuU” width=”900″ height=”600″ frameborder=”0″ allowfullscreen=”allowfullscreen”]
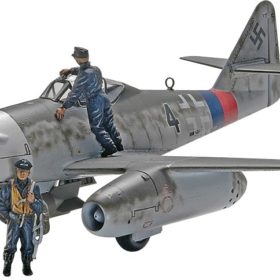
But make no mistake. Art is also a huge part of this hobby. No plastic model builder would ever slap a model together just to study it. All builders take great pride in their artwork at every stage of building. I would never glue haphazardly without regard to aesthetics. I always spent great care in applying putty and buffing to perfection. Actually, every model builder has always prided themselves on the artwork side of painting their models with great care.
The hobby would not exist without both the science and the art aspects of modelling.
So start building your first model today. You will be richly rewarded for the experience. I promise you that.
How to Build Plastic Model Airplanes – 25 Essential Tips
Whether you are a complete beginner, or you created a few models before, these bits of information should shine some light on the art of building aircraft models. These tips are straightforward and probably nothing new to the expert model builders; however it is a good list, I hope, and a good collection of essential things that may be of use, even for experienced modellers too.
Once you have your plastic model airplane you’ll want to find a place to build it. Your work area should be flat, level, well lit, and large enough to allow you to work comfortably. Open the box that the kit comes in and carefully take out the plastic trees that the model pieces are attached to. The instructions are also in the box. Open the instructions and thoroughly read them before starting the assembly.
Next, wash the part trees in soap and water. The trees, along with the parts, are made through a process called injection molding. Part of this process requires a release agent to be used to prevent the trees from sticking to the mold. Residue from this agent does get on the trees and can prevent paint from sticking to your model well. You can use a blow dryer to dry them off or you can let them air dry while you read the instructions again or prepare your work area for the assembly of your plastic model airplane.
The instructions will give you all the basic assembly directions you will need to put your plastic model airplane together. However, there are some things you can do to help you build that plastic model airplane that you envision.
Now, take a look at the following tips and see which ones you can apply to your modelling practices.
- Beginners should always start with simple projects and should build at least 2 to 3 simple models. This can increase the confidence in the project and can help to learn the tips and tricks of model building.
- Plastic model plane kits need a workspace dedicated to the project.
- Make sure to wash everything contained in airplane model kits, before you start modelling.
- All model kits come with directions, so read them. So, remember to the instructions thoroughly and make sure you understand all the diagrams.
- Follow the directions.
- Minimize your use of glue. So, don’t forget to apply small amounts of glue and make sure not to drip any on the model.
- If you get glue in a place that you don’t want it WASH IT IMMEDIATELY. Also, you may want to scrape off a little of paint for a better bond.
- Don’t glue something then glue that to another thing; for instance, don’t put together the cockpit of a plane and then glue it in. Just let it sit and work on something else like finish painting or put together the engine.
- After your kits are glued, allow them to dry overnight.
- After glued together, try using putty to fill in the gaps.
- Assemble the cockpit at this point, a fun part of military model kits.
- Paint all the small parts and any parts that will be hard to get to when the model is all complete. Keep them on the tree, it is easier in the long run.
- Consider using different types of paint with your plastic model airplane kits.
- You don’t really need an airbrush for painting. You can get the same results without one. However, it may take 10 minutes to the job right with an airbrush, when without one it would take hours.
- Have modelling paint and spray paint on hand as choices. Another alternative is airbrushing; this particular technique will offer you the best effects.
- Always paint the interiors of the model first. Next paint the complex areas like the cockpit and the canopy window framing.
- Use regular tape just to tape up areas that you don’t want to get with the airbrush.
- Double-check your alignment while doing any model kits, this will avoid a lopsided airplane.
 Add the decals at the end, only when it is all done.
- If you want realistic backgrounds, you can use pictures from calendars, etc., and put them behind the model and underneath the model to make it look like it’s really there! Another option is to take a picture of your model, with a flat background if possible (drop a sheet or something over a chair and then put the model there), then upload the picture to your computer, add the background and merge the two layers (Adobe Photoshop can do this job very easy).
- Never give up on any project if something goes wrong. The best thing to do is to finish your kit as best you can and learn from your mistakes.
- Whenever applying plastic model cement do so sparingly. It doesn’t take much model cement to bind pieces together and if you apply too much the glue will ooze out the seams. If this happens you will have to sand those areas and clean them up after the glue has dried, so they’re not visible when the model is completed.
- Too much glue can make it a little more difficult to handle pieces as you assemble them. A general rule is to apply cement to only one side of the two parts to be glued together.
- Before applying the glue test fit the alignment of the two pieces to give you an idea of how to put them together after you have put the glue on. Test fitting will also give you an idea of any paint preparation you might need to do to the assembled piece later on. After applying the glue you’ll want to carefully put the two pieces together. As you place the two together align them according to your kit’s instructions.
- Some parts of your plastic model airplane will need to be painted before they are assembled. But most kits generally indicate that. Painting can be done with a model paint brush. However, spray-painting leaves a much smoother surface and can make your plastic model airplane more attractive when you display it.
- Enjoy building your new model. All-plastic model kits are essentially toys and are meant to be fun. So let your inner child run amok when it gets the rare chance to. Doing this will be the best part of your modelling experience. Without a doubt, seeing the final build will get your interest peaking again and you may find your hobby has only been on the shelf.
 The 10 “Don’ts” of Aircraft Modelling
When you learn about aircraft modelling by your own experiences, what you learn isn’t always “what to do”, but rather “what NOT to do.” Below are some of the things I’ve learned not to do.
- Scattered pieces: I learned while building a C-130. I left the windows lying around, half painted, by all of my other stuff. Modelling is a messy hobby though, and sooner or later I spilled some paint thinner on it. This totally messed up the windows. Whatever you do, don’t put paint thinner on windows, and always put pieces in a safe place like a plastic bag, this protects them from any stupid things you may do (except for sitting on them of course)
- New airbrush anxiety: If you have just bought an airbrush, whatever you do DON’T run anything through it until you have read the instructions on mixing ratios, de-assembly, and assembly. When I got my first model, I kind of skipped over most of the instructions. I didn’t mix the paint right and when I finally painted VOILA! There’s yellow paint running all over my model.
- Scribing a not so straight line: I have a scribing tool (like a dentist scraper thing) for etching panel lines. More than once I have messed up my panel lines, so I go to re-etch them……without a guide. Uh oh, big mess, I just dug a panel line way off onto the wing!! AHHHHH!! I don’t care HOW coordinated you are, you cannot etch a panel line without using a straight edge or some tape to keep you from slipping.
- A Hot Problem: I may or may not be the first person to use hot glue to put a fuselage together. It actually works wonderfully well for holding those fussy wing or fuselage pieces together on plastic model airplanes. I still think this can be a good thing, but don’t let your glue get too hot, and don’t directly touch the area that is being glued. I was building an airliner model and used hot glue, and it caused a dent so large in the side, that if it was in real scale it might be several feet deep!!
- Evil Grinder: My Dremel tool is really handy, but if you’re going to use it on a model, be careful. The padded wheel on the tool looks good for polishing. Don’t be mistaken, it is EVIL. This little, seeming soft pad can wreck the surface of your model, and leave little white threads half embedded in your model. Another thing, unless your planning on gouging your model to pieces, don’t use the sanding belts on a Dremel to sand things.
- Taking the paint off: There are many ways to smooth out a rough paint job or remove it. Whatever you do, DON’T use paint thinner. I brushed paint thinner on the rear wing once to remove the paint, it totally WRECKED the surface of the wing. It melted the plastic, and to make things worse I got it all smeared.
- Decal Dilemma: If you’ve modelled before, you know that decals don’t always look clear. I had an EXTRA bad case of this once. It was on a model I actually did a pretty good job on. I painted the model flat black instead of gloss black. Decals are meant to go on smooth surfaces. The flat paint was so bad for the decals that the clear areas turned out VERY filmy, and some decals basically fell of because they couldn’t stick. So before you put decals on, get a setting kit, or make sure the decals are going to work on the type of paint you’ve chosen.
- Masking Mess: I used some Mask-it-Easy masking goo. It worked fine, so I decided to put some in a hard-to-mask area, the wheel well of my P-51. It masked the area fine, but the goo in a place like that is VERY hard to get off. I still haven’t removed all of it.
- Stripes Stripes Stripes: This isn’t a major problem here, but it will save you time….. When painting stripes, say a black-white-black-white combination of stripes that are connected, don’t do as I did once (mask each stripe and paint it) Instead, just paint a base color (make it white for now) and then add the other colored stripe over top. This may seem like a no-brainer, but if I did it, then I’m sure one of you out in cyberspace would also do it.
Some of these problems and many others can be prevented by just stopping and thinking about what you’re going to do on your model before you ever do it.
Final Word
Aicracraft modelling is a source of inspiration and patience learned by many people. It is an art that continues to grow followers over the decades. It is something that can be shared with others, passed on, and be a source of common ground throughout life.
Approach buying and building your first model as an experiment of sorts. Maybe you have decided to build a model of one of those legendary aircraft, but you really won’t know how much you will like it in the end, or how much time you will have to spend on it. Spending a lot of money and then seeing it in a heap on a desk or workbench three weeks later will unsettle you. Keep things simple, go into it with the attitude that you will enjoy it, and be patient with yourself. As most first time builders discover, you will be proud to have completed your first project and will show it to your friends.
Above all, enjoy the experience of modelling as a hobby. Don’t spend all your hours on models and hide them away from the world, show off your work and interact with others that enjoy modelling airplane kits as you do. Scale model planes are at the doorway to a world full of history, science, and fun for a lifetime. That is the real payoff of model kits for those who love building them.

